Cable Railing Safety and Installation Protocols
Posted by Deck Expressions on Sep 17, 2026
Installing cable railing on a deck? Before you start, take the time to familiarize yourself with these cable railing safety and installation protocols. The last thing you want is to end the project with a railing that's loose or unsafe. By following the right installation requirements from the start, you can build a finished product that looks good and performs the way a deck railing should.
Check Local Building Codes Before You Order Materials
Cable railing height and spacing requirements change depending on where you live. Most jurisdictions require a minimum guard height of 36 to 42 inches, and cable spacing typically needs to stay under 4 inches to prevent a 4-inch sphere from passing through. Some areas also enforce a "no climb" rule that restricts horizontal cable configurations on decks near ground level. Call your local building department before you buy a single foot of cable. A failed inspection costs more time than a phone call ever will.
Measure Post Spacing Based on Cable Tension
Posts that sit too far apart let cables deflect more than code allows under load. Most manufacturers cap post spacing at 3 to 4 feet on center when using standard 1/8-inch cable, though some engineered systems allow wider spacing with reinforced posts. Wider spacing means more deflection, and more deflection means your railing fails the push test. Measure your total run first, then divide it evenly so you're not left with one oddly spaced final section.
Choose Posts Rated for Cable Railing Loads
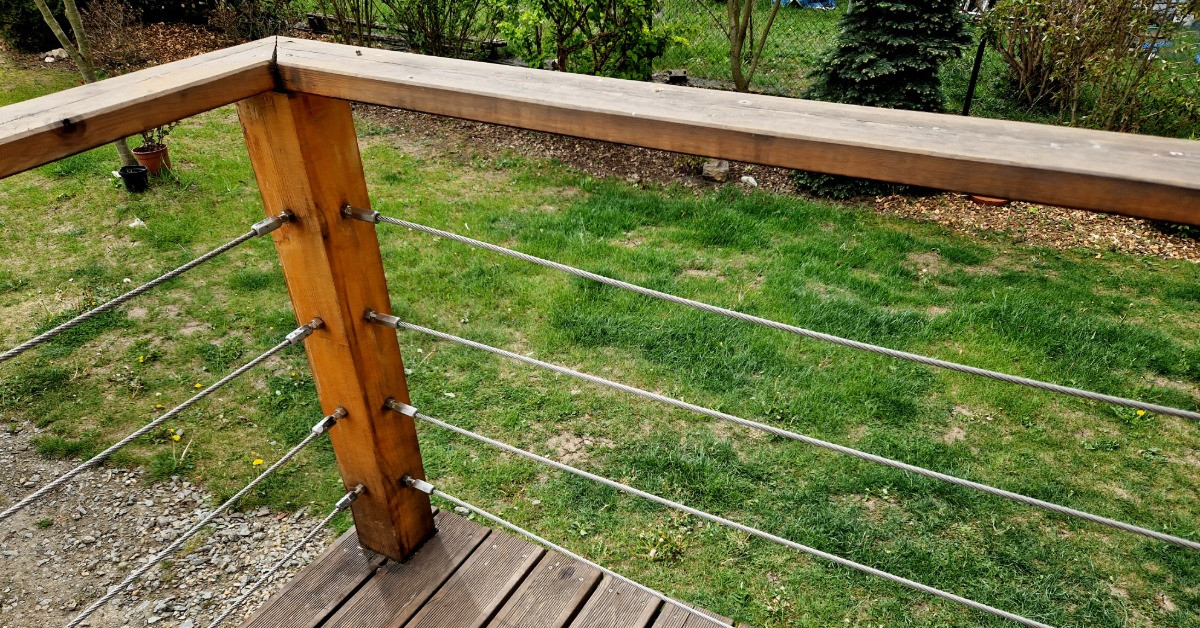
Standard wood 4x4 posts often can't handle the lateral load that tensioned cable puts on them without additional reinforcement. Cable pulls inward on every post in the run, and that force adds up across a long railing. Metal posts built specifically for cable systems, or wood posts reinforced with internal steel plates, handle that load without bowing over time. If you're working with an existing wood post structure, have it evaluated before running cable through it.
Use a Line Tensioner on Every Run
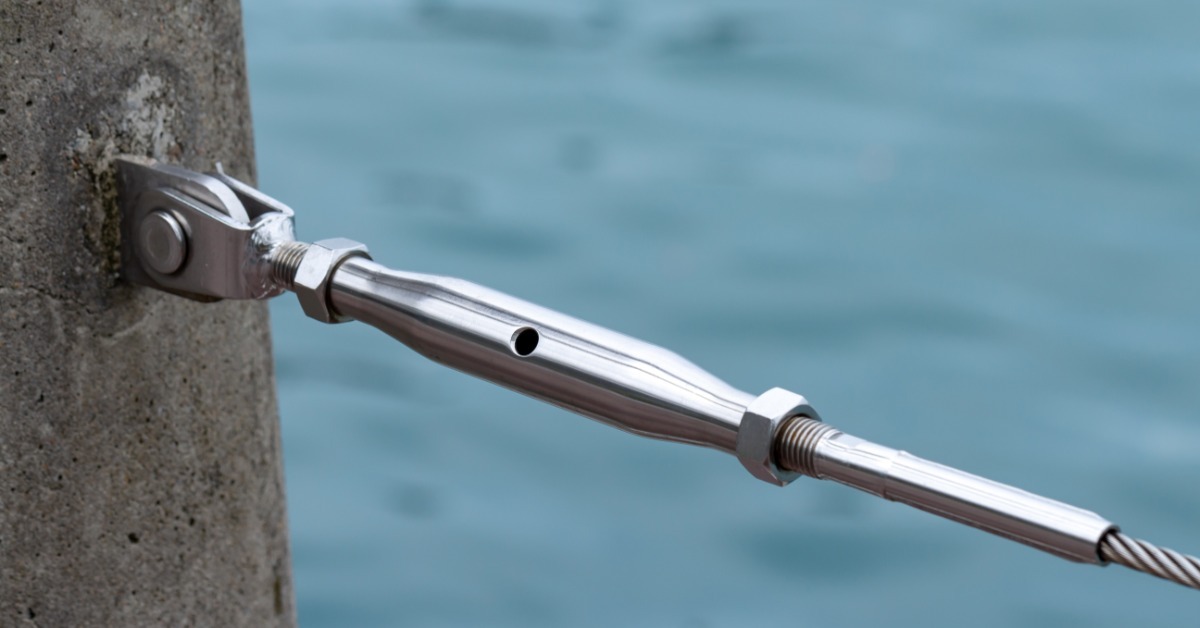
Cable stretches slightly after installation as it settles into the fittings. A tensioner on at least one end of every cable run lets you tighten the line after the initial stretch instead of starting over. Skip the tensioner and you'll end up with sagging cable within a few months, especially on longer runs where even small amounts of stretch are visible. Most systems use a threaded stud tensioner that you turn with a wrench after the cable is cut to length.
Torque Cable to Manufacturer Specifications
Overtightening cable puts excess strain on end posts and fittings, while undertightening leaves you with sag and a railing that doesn't pass the deflection test. Manufacturers publish specific tension ranges for their hardware, usually measured in pounds of pull. A cable tension meter takes the guesswork out of this step and confirms you're within range before you move to the next line. Guessing by feel leads to inconsistent tension across the run, which shows up immediately once you stand back and look at it.
Inspect Cable Fittings for Wear Before Reuse
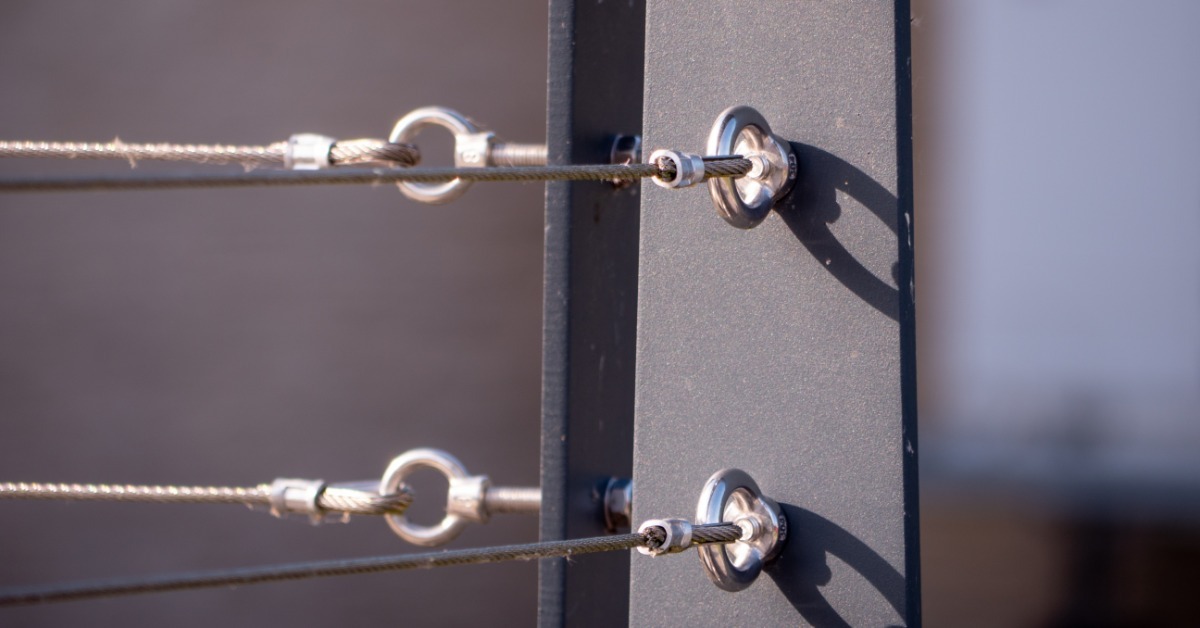
If you're replacing an old cable railing system rather than starting from scratch, don't assume the existing swage fittings or turnbuckles are still good to reuse. Repeated tensioning and years of weather exposure cause micro-cracks in swaged fittings that aren't visible without a close inspection or a magnifying loupe.
Check for any green corrosion buildup around stainless fittings, which signals galvanic reaction between dissimilar metals, usually from mixing hardware brands or grades. Threaded studs on old tensioners can also strip out over time, especially if a previous installer overtightened them.
Replacing a $15 fitting now costs a lot less than a callback after a cable snaps under normal use. If you're unsure whether a fitting is rated for the tension your new run requires, swap it out rather than gamble on it holding.
Space Intermediate Posts to Prevent Cable Deflection
On longer railing runs, end posts alone won't keep cable spacing within code even if your end-to-end tension is correct. Intermediate posts break up the span and keep each cable segment short enough to resist bowing under hand pressure. Skipping intermediate posts on a run over 6 feet is one of the most common reasons cable railing fails inspection. Check your system's specific limit, since it varies by cable gauge and post material.
Seal All End Post Connections Properly
End posts absorb the full tension load from every cable in the run, so their connection to the deck structure carries more weight than any other point in the system. Bolt-through connections into rim joists or blocking hold up better than lag screws driven into decking alone. Add structural blocking behind the rim joist if your existing framing doesn't already have it. A loose end post doesn't just look bad; it lets every cable in that run go slack at once.
Match Cable Material to Your Climate
Stainless steel cable comes in different grades, and the grade you pick affects how the railing holds up outdoors. Grade 316 stainless resists corrosion better than 304 in coastal areas or anywhere with regular exposure to salt air or pool chemicals. Inland installations in drier climates can typically use 304 without issue. Using the wrong grade near saltwater leads to visible rust and pitting on the cable within a couple of years, well before the rest of the deck shows any wear.
Test the Finished Railing Before You Call the Job Done
Once every cable is tensioned and every post is secured, walk the length of the railing and apply firm pressure at multiple points, not just the middle. Check that no single cable deflects more than the code-allowed spacing when pushed. Confirm the top rail doesn't flex under downward pressure from someone leaning on it. This final check catches problems before your client or inspector does, and it takes less than ten minutes.
Document Your Installation for Future Reference
Keep a record of the cable gauge, post spacing, tensioner type, and torque specs you used on the job. If a homeowner calls in two years about a loose cable, having that information on hand saves a return trip just to figure out what was originally installed. This is especially useful on larger properties with multiple railing runs, where different sections might use slightly different hardware.
Finish With A Secure Railing
Following these cable railing safety and installation protocols will help you avoid loose cables and unstable posts so the finished railing is secure enough for regular deck use.
At Deck Expressions, we sell cable deck railing with durable components and installation-friendly designs. Shop our available options and find the system that works for your next deck project.