Contractor Guide to Installing Composite Railings
Posted by Deck Expressions on Mar 17, 2026
Installing composite railings isn’t overly complicated, but it does demand precision. That’s because the difference between a standard install and a standout one usually comes down to planning, sequencing, and attention to detail. When posts are solid, cuts are clean, and spacing is consistent, the entire system performs better and looks sharper. This contractor guide on the installation of composite railings focuses on practical execution and small decisions that help keep projects efficient, compliant, and callback-free.
Pre-Install Planning That Prevents Callbacks
Most railing problems aren’t caused by the railing itself. They stem from layout assumptions, overlooked framing issues, or rushed measurements. Taking time to confirm structural conditions before installation keeps the job moving smoothly once materials are on site.
Start by verifying framing integrity and post placement. It’s best to anchor the structural posts securely to framing below, not just surface boards. For surface-mount systems, confirm adequate blocking beneath the deck boards to support hardware and resist movement over time. For fascia-mount systems, inspect the rim joist carefully and ensure it can handle the load requirements of the railing system.
It’s also important to confirm layout transitions early. You should measure corners, stair openings, and long continuous runs as a complete system rather than as isolated sections. Planning bracket placement and rail lengths in advance minimizes awkward cuts and uneven spans.
Before cutting anything, review local building codes. Guard height requirements, maximum baluster spacing, and stair-specific regulations can vary slightly by location. Even experienced contractors benefit from a quick confirmation, especially when working in a new municipality.
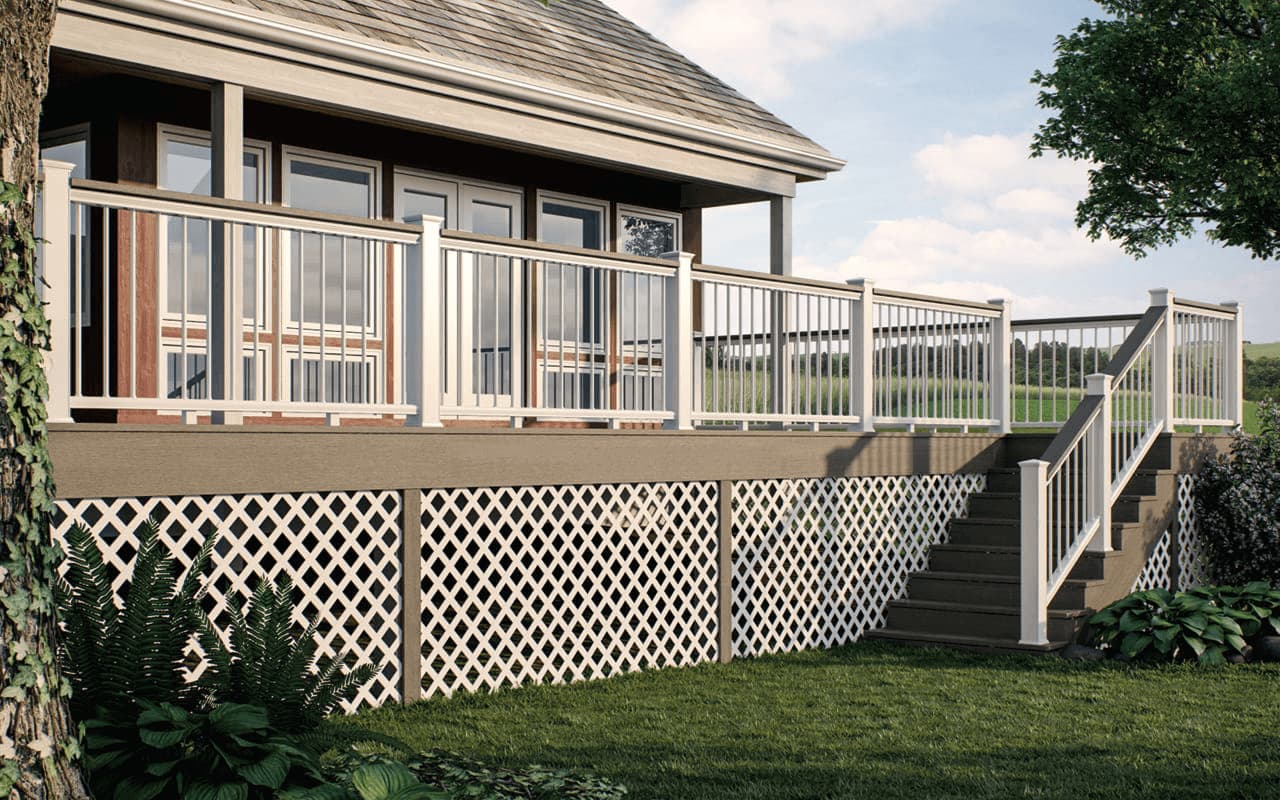
Setting Posts the Right Way
A composite railing system can only perform as well as the posts supporting it. Even minor movement at the base will transfer to the rails and become noticeable under pressure. Solid structural anchoring creates confidence in the finished product.
Through-bolting typically offers greater long-term stability than lag screws alone, particularly on decks exposed to frequent use or heavy traffic. To reduce flex, secure the blocking tightly to the surrounding framing members beneath the deck surface. The goal is minimal deflection when applying force from any direction.
Don’t forget to review post spacing carefully before installation. Keeping spans within manufacturer guidelines maintains both compliance and performance. Overextended spans may look acceptable initially, but can result in deflection over time.
Once structural posts are secure, cut post sleeves consistently and install them as squarely as possible. Confirm plumb alignment from multiple angles before securing trim components. Avoid over-fastening sleeves, as composite materials do not require excessive pressure to remain stable. Clean, aligned posts establish the visual baseline for the entire railing system.
Rail Installation Without Guesswork
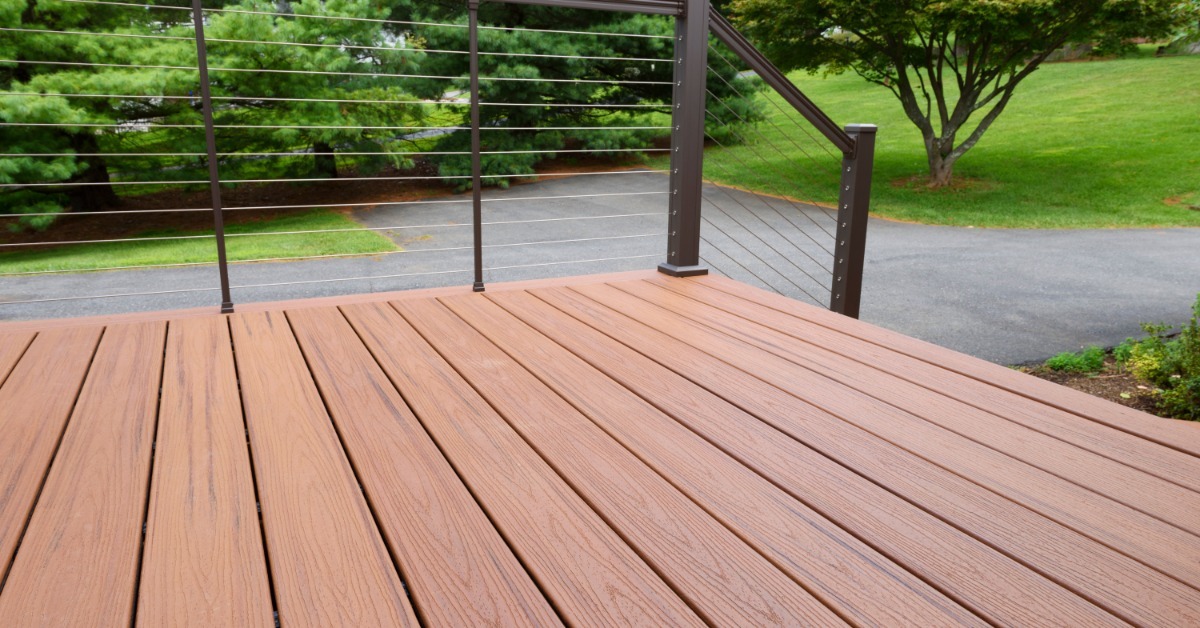
With posts solid and aligned, rail installation becomes a matter of precision and consistency. Small measurement errors can multiply quickly, especially on longer runs. A deliberate, methodical approach prevents those minor issues from turning into noticeable misalignments.
When measuring rails, account for bracket depth and any manufacturer-recommended expansion spacing. Dry-fitting components before final fastening allows for adjustments without compromising material. Using the correct blade for composite materials ensures clean edges and reduces surface chipping.
Also, installing the bottom rail first establishes a reliable reference point. Once it is level and secure, baluster spacing becomes easier to maintain across the entire section. Take time to confirm each baluster locks fully into place to avoid shifting when installing the top rail.
Be sure to align the top rail carefully before final tightening. Fasten brackets evenly rather than securing one side completely at the start. After fastening, sight down the rail line to confirm straightness and consistent height across posts. Minor adjustments at this stage prevent noticeable alignment issues later.
Installing Composite Railing on Stairs
An important part of any guide to installing composite railings that contractors pay close attention to is considerations regarding stair sections, as these introduce additional variables that require tighter measurement and alignment. Angles, rise, and run dimensions can shift slightly from one project to another, even within the same build. Relying on precise measurements rather than assumptions keeps cuts accurate.
Use an angle finder to confirm the exact stair pitch before cutting rails. Even small miscalculations can lead to uneven baluster spacing or visible gaps at brackets. Taking accurate measurements ensures the railing follows the slope cleanly and consistently.
When cutting stair rails, dry-fit components before securing them permanently. Whether using a pre-assembled kit or assembling on site, confirm that baluster spacing remains compliant and visually even from bottom to top. Stair sections draw more visual attention, so consistent alignment is especially important.
Bracket placement on stairs should be secure and evenly spaced to support the angled load distribution. Once installed, apply light pressure along the rail to confirm rigidity. Stability on stairs is critical for both code compliance and user confidence.
Quick Reminders for a Smoother Install
Even experienced crews benefit from revisiting a few key considerations during installation. These details are easy to overlook when the job is moving quickly, but keeping them top of mind helps protect long-term performance.
Be mindful of fastener pressure throughout the install. Composite materials are durable, but over-tightening can cause subtle distortion or stress at connection points. Snug, even fastening across brackets maintains structural integrity without compromising material.
Allow for manufacturer-recommended expansion gaps at rail ends and connection points. Composite components expand and contract with seasonal temperature shifts, and tight installations can show stress over time. Following spacing guidelines protects both appearance and warranty coverage.
On longer spans or high-traffic decks, consider reinforcement where appropriate. Additional blocking or mid-span support can significantly reduce long-term deflection. A small structural adjustment during installation helps ensure the railing feels solid for years.
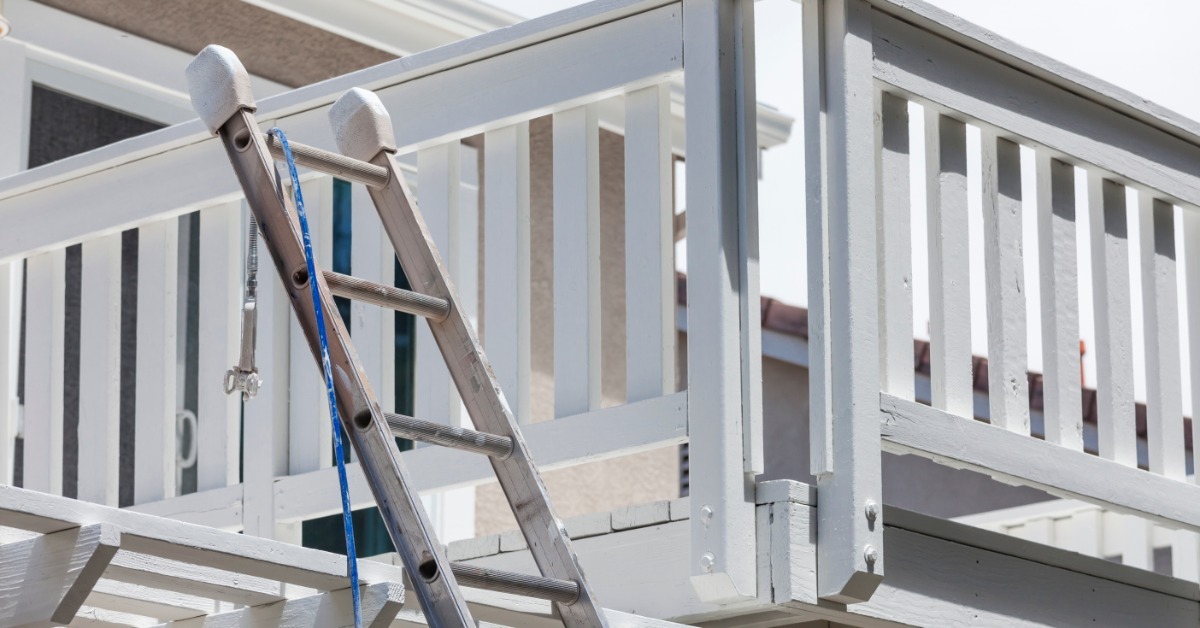
Final Walkthrough Before You Leave the Site
Before wrapping up, conduct a thorough inspection of the entire system. A brief but careful walkthrough reinforces quality and ensures the railing performs as intended. Addressing minor adjustments immediately prevents return visits later.
Apply controlled pressure at posts and mid-span sections to confirm minimal movement. The system should feel firm and stable, with no noticeable flex. If any instability is detected, verify hardware and structural support before leaving the site.
Be sure to step back and visually inspect the entire run from multiple angles. Sight down the top rail to confirm straightness, check baluster spacing for uniformity, and ensure trim components sit flush and aligned. Wipe down surfaces to remove cutting debris and fingerprints so the finished railing presents cleanly and professionally.
When planning, structure, and detail come together, composite deck railing installation becomes a predictable and efficient process. Solid preparation and careful execution ensure a finished system that looks sharp, performs reliably, and reflects the standard of work contractors aim to deliver.