Elevating Your Deck With Stone Post Cover Kits
Posted by Deck Expressions on Sep 25, 2026
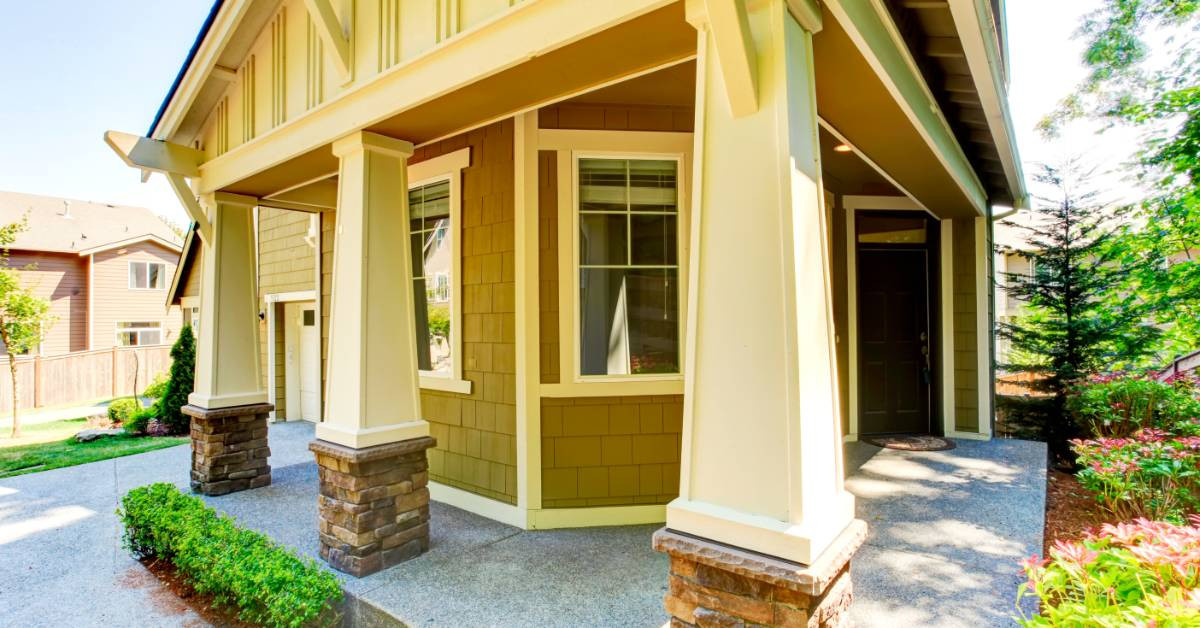
Want to give your deck a finished, high-end look? Stone post covers can do that for you! These are lightweight panels designed to wrap standard deck posts and mimic the texture of natural masonry. Here are our tips for installing stone post cover kits so they look sharp and boost your curb appeal. Whether you're a contractor working on a client's build or a homeowner tackling a weekend project, you'll find something useful below.
Measure Your Posts Before You Order
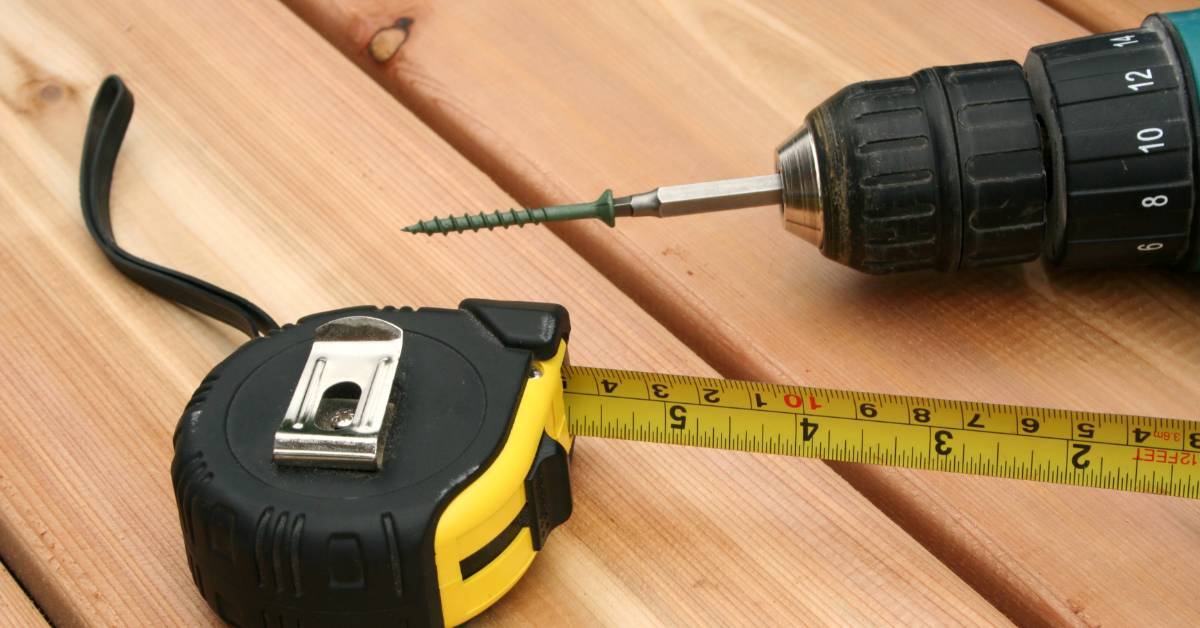
Wrong measurements are the top reason a kit shows up and doesn't fit. Grab a tape and check the width of each post on all four sides, since wood posts are rarely perfectly square. A standard 4x4 post measures 3.5 inches across, and a 6x6 measures 5.5 inches. Kits are sized for those dimensions, so don't go by the nominal number. Check the height too, because the cover has to reach from the deck surface up to the cap.
Confirm the Posts Are Plumb and Solid
Stone covers sit over the post, so any lean in the post shows up in the finished column. Hold a level against two adjacent sides of each post and look for gaps at the bubble. A post that leans even half an inch over its height will leave uneven spacing between the wood and the cover. Wiggle each post by hand too. If it moves, brace it or add blocking at the base before you install anything on top.
Clear the Post of Hardware and Obstructions
Old brackets, nails, and screws stick out from the wood and stop the cover from sitting flush. Pull or hammer them flat before you start. Do the same for any lag heads or protruding bolts from rail connections. Rails often attach right at the spot where a cover needs to slide through, so decide early whether you'll cut around the rail or remove it and reinstall it after the cover goes on. Doing this cleanup first saves you from stopping halfway to fix something.
Dry Fit Every Panel First
What happens if you glue a panel on and it doesn't line up? You've got a mess and a wasted piece. Stack the panels around the post without adhesive and see how the seams meet. Most kits use interlocking edges, and a dry fit tells you which side goes where. It also shows you if a panel needs a trim cut. Mark the order with a pencil on the back so you can rebuild the same layout when it's time to secure them.
Use the Right Adhesive for the Job
Not every glue holds up outdoors, and your deck sees rain, heat, and freezing temperatures all year. Pick a construction adhesive rated for exterior use and compatible with the panel material, which is usually polyurethane or a similar polymer. Apply it in vertical beads rather than one big smear, because vertical beads let air escape as the panel presses into place. Confirm the adhesive's cure time on the tube, since some products need 24 hours before they take any stress.
Cut Panels With the Correct Blade
Faux stone panels are dense, and the wrong blade chips the edges. A fine-tooth carbide blade on a circular saw or miter saw gives you the cleanest cut. Support the panel fully on both sides of the blade so it doesn't flex as you cut. Wear a dust mask and safety glasses, because the material throws fine particles. Test a cut on a scrap piece first if you've never worked with this material, and you'll see how the blade behaves before you touch a good panel.
Keep Seams Tight and Lined Up
Visible seams are what give away a faux stone column. Press each panel firmly against its neighbor so the texture pattern flows across the joint. Do you see a gap? Adjust right away, since adhesive sets fast and a fix after the fact means prying the panel loose. Stagger the seams from one face of the post to the next when the kit allows it, because staggered joints are harder for the eye to spot than seams that stack in one line.
Seal the Base and Cap Against Moisture

Water finds its way into any opening, and the top and bottom of a post cover are the two most exposed spots. Run a bead of exterior-grade caulk along the base where the cover meets the deck surface. Do the same under the cap, which usually slides over the top and covers the open end. Moisture trapped inside the cover can rot the post over time, so this step protects the wood you can't see.
Match the Cover Color to Your Home
A cover that clashes with the siding or railing pulls your eye to the wrong spot. Hold a sample panel next to your house exterior in daylight, since indoor lighting distorts color. Gray tones pair well with cool-toned siding, while tan and brown stone suits homes with warm brick or wood accents. Consider the deck boards too. If they're a strong color, a neutral stone keeps the whole space balanced instead of busy.
Space Your Columns for Balance
How many columns should you install, and where? Place them at the corners and at regular intervals along the railing so the spacing looks uniform from every angle. Most codes limit the distance between posts based on railing span, so check your local requirements before you finalize the layout. Even spacing also makes the deck look more structured. If one span is wider than the others, the eye catches it right away.
Faux Stone Columns Give Your Deck a Lasting Upgrade
Stone post covers can turn plain wood posts into a standout feature! And using a kit makes installing them quicker, cleaner, and a lot less stressful all the way through. You get matched panels, consistent texture, and a fit designed for standard post sizes.
At Deck Expressions, we sell faux stone columns for anyone who wants a masonry look without the weight or cost of real stone. Shop our available styles and find the right look for your home or your next client's project!