
Tips for Installing Composite Post Sleeve Kits
Posted by Deck Expressions on Sep 28, 2026
Composite post sleeves are a common choice for covering structural deck posts. They hold up well outdoors without the rot or moisture damage you have to watch for with exposed wood. If you're interested in composite post sleeve kits for your deck, how they're installed affects the final appearance and function of the railing system. To help you get the installation right, here are 11 tips to keep in mind.
Check the Post Dimensions First
A post sleeve needs to fit over the structural post without binding, so check the post dimensions before you cut or install anything. Don’t go by the nominal lumber size alone. A 4x4 wood post, for example, measures smaller than four inches across.
Measure the post itself on more than one side, since wood can vary slightly from one face to the next. Those measurements give you the size you need to compare against the sleeve before installation.
Make Sure the Post Is Plumb
A sleeve follows the position of the structural post underneath it. If the post leans, the sleeve will lean with it. That angle may stand out even more after the rails connect one post to the next.
Check the post with a level before the sleeve goes over it. If the post needs an adjustment, deal with it while you still have access to the mount and hardware.
Measure From the Deck Surface

Sleeve height should come from the surface that will remain visible after the project is complete. For most deck installations, that reference point is the deck surface rather than the framing below it.
Measure from the deck surface to the point where the sleeve needs to end. The post cap and railing design will affect that height, so check the manufacturer's dimensions before you mark the sleeve. You want enough sleeve to cover the post without extra material at the top that gets in the way of the parts above it.
Mark Each Sleeve for Its Own Post
Posts across the same deck don't always end at exactly the same height. Small differences in framing or post placement can leave one location a little taller than the next. Because of that, one cut measurement shouldn't automatically become the measurement for every sleeve.
Match each sleeve to its post and mark it separately. A line around more than one face gives you an easy reference as you cut. That extra mark also keeps you from relying on a single line that may become hard to see once the saw reaches the opposite side.
Support the Sleeve Before the Cut
Post sleeves need solid support while you cut them. If a large section hangs past the edge of your work surface, the material may shift before the blade passes all the way through. That can leave the end uneven.
Set the sleeve on a stable surface and support the section you plan to keep. You shouldn't have to hold the material in position while you control the saw at the same time. A secure setup gives the blade a consistent path through the sleeve and reduces movement at the cut line.
Match the Blade to the Material
Once the sleeve is supported and ready to cut, check the blade before you start. Composite can chip along the cut edge if the blade isn't suited to the material.
Look at the manufacturer's instructions for the recommended blade type or tooth count. Using the right blade helps produce a smoother cut and reduces rough edges that may remain visible after installation.
Test the Fit Before Final Placement
After the sleeve is cut, slide it over the post to check the fit before you treat its position as final. The sleeve should move over the post according to the manufacturer's fit requirements. If it stops partway down, don't force it.
Pull the sleeve back off and inspect the post instead. A protruding fastener or a rough section of wood may block the sleeve. Correct the obstruction first, then test the sleeve again. Force can damage the inside of the sleeve or leave marks on a surface that will stay visible.
Keep the Visible Faces Consistent
Some sleeves have subtle differences from one face to another due to their finish or surface pattern. Those differences may look minor while the sleeve sits on a worktable, yet they can stand out when several posts appear next to each other.
Look at each sleeve before you place it over the post. Choose which face you want toward the most visible side of the deck, then use the same orientation on the other posts. Consistent placement gives the row of sleeves a more uniform appearance after the rails go into place.
Account for the Post Cap
The sleeve and post cap need to work together at the top of the post. If the sleeve ends at the wrong height, the cap may not attach the way the manufacturer intended.
Check how your post cap fits before you make the final sleeve cut. Some caps fit over the outside of the sleeve, while other systems use a different connection. The product instructions will show how much room the cap needs. Use that information when you set the sleeve height so you don't have to trim it again after the first test fit.
Use the Specified Attachment Method
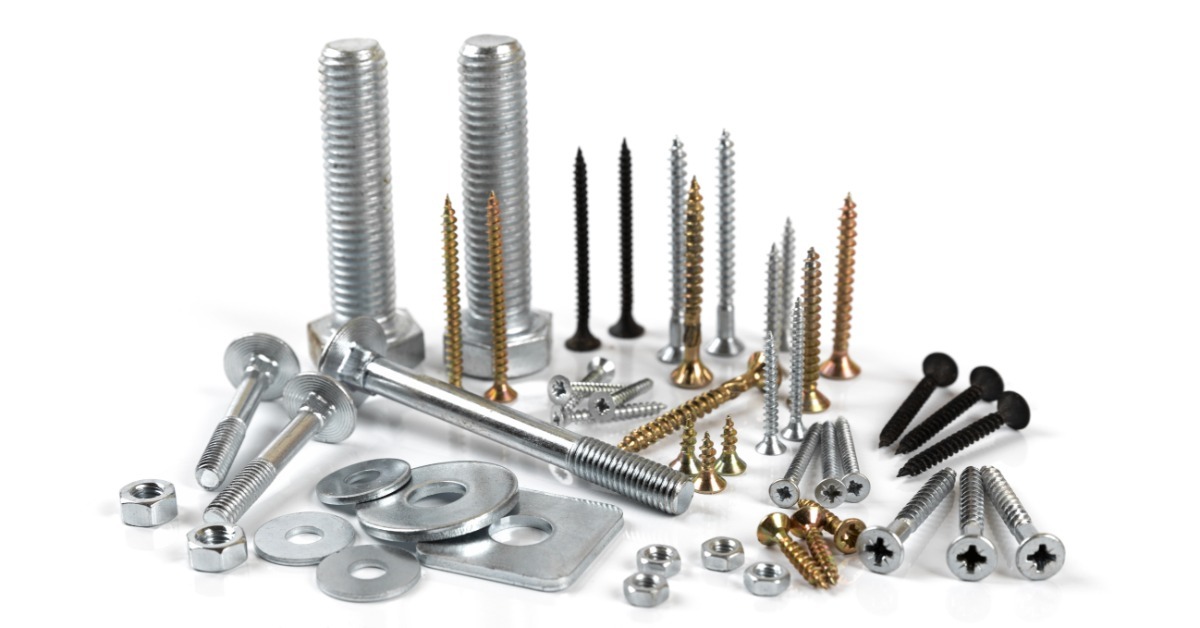
Post sleeve kits don't all attach in the same way. One system may rely on specific hardware, while another may secure through components that are part of the railing assembly. Extra screws or adhesive aren't a safe substitute for the method listed by the manufacturer.
Read the kit instructions before you secure the sleeve. Use the specified fasteners and place them where the manufacturer directs. If the sleeve doesn't call for an additional attachment, don't add one on your own. The sleeve should work as part of the system it was made for.
Check the Sleeve Before the Rails Go On
Take one last look at each sleeve before the railing sections go between the posts. The sleeve should sit at the intended height and line up with the rest of the posts across that section of the deck.
Now is also the easiest point to correct a sleeve that sits too high or looks out of position. Access becomes more limited after the rails and other components are in place. A quick check here can save you from taking parts back off later just to reach the sleeve underneath them.
Finish The Installation Right
Installing composite post sleeve kits is fairly straightforward when you follow the instructions for the system you're using. Check your measurements before each cut, follow the manufacturer's installation requirements, and make any adjustments before the railing goes into place.
At Deck Expressions, we sell composite and aluminum post sleeves for residential deck projects. Shop our available styles and see which one fits your deck.