Installing Vinyl Railings on Existing Decks
Posted by Deck Expressions on Jun 05, 2026
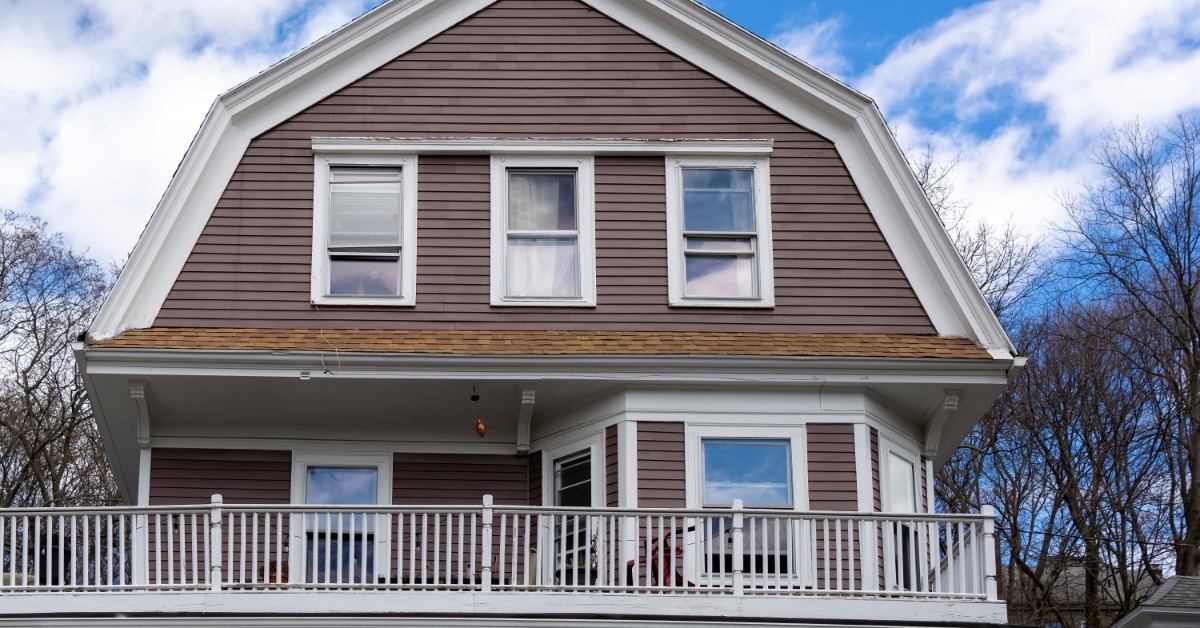
If you have an older deck that’s seen better days, you can make it feel like new again by installing a railing that finally matches how the space gets used. Old rails often age faster than the deck surface, especially when paint starts peeling or posts begin to wobble. A new rail system can sharpen the whole structure, but it only works well when the deck has enough strength to support it.
Still, it’s important to recognize that installing vinyl railings on an existing deck isn’t just a matter of swapping one visible part for another. You need to make sure you get everything right, which is why we’re here to cover the basics with you in this informative guide.
Start With the Deck, Not the Railing
Before you choose a rail style, look closely at the deck itself. Vinyl railings can give a tired deck a cleaner finish, but they won’t solve weak framing or loose structural parts. If the deck boards flex heavily underfoot, the railing project needs to pause until you’ve addressed the support issues.
Pay close attention to the rim joists and the areas where posts will attach. Existing decks sometimes hide rot around old fasteners or under trim pieces. A railing depends on those connection points, so the structure beneath the surface matters just as much, if not more than, the rail profile you choose.
Check Requirements Before Buying Materials
Railing height and opening rules can vary by location. You don’t need to memorize every code detail before shopping, but you do need to know what your project requires. That matters even more when you’re replacing a railing on a raised deck.
Manufacturer instructions matter too. A vinyl deck railing system may look simple on the shelf, yet each kit has its own spacing rules and bracket requirements. Follow those details closely and don’t treat every brand as interchangeable.
Decide Whether Existing Posts Can Stay
Some railing replacements can use existing structural posts, while others need new posts or post sleeves. The answer depends on how the old posts were installed and what shape they’re in now. A post that looks decent from the outside can still have movement at the base.
Grab each post and check for wobble. A solid post should feel locked into the deck framing, not just tight against the deck boards. If a post shifts when pushed, the railing section attached to it will likely feel weak too.
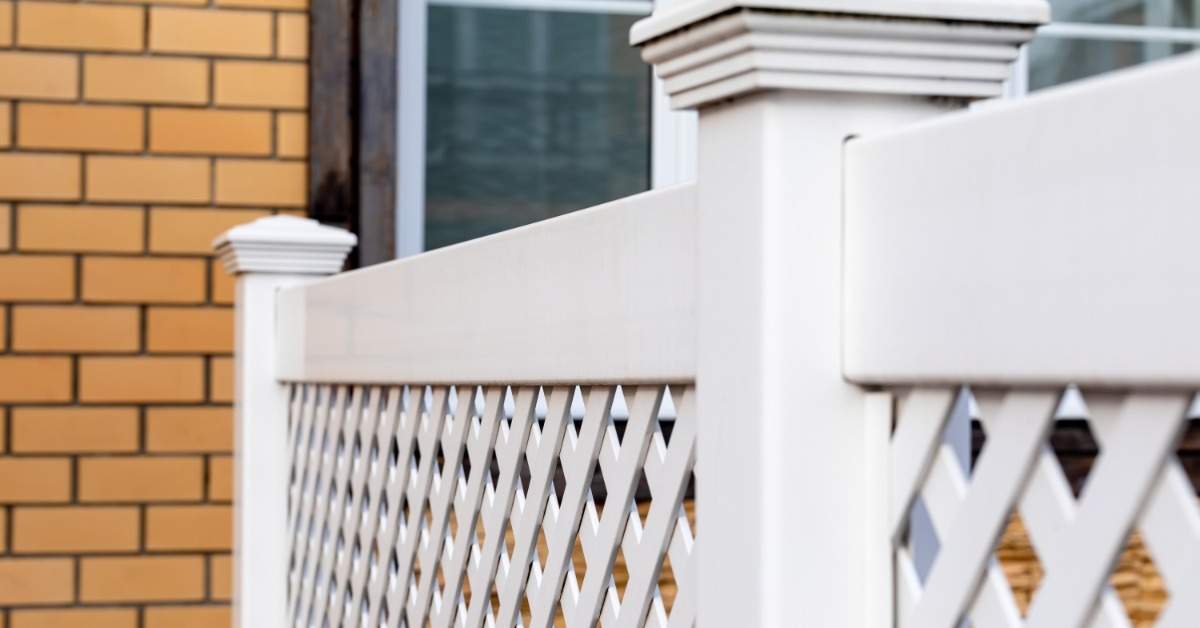
Vinyl sleeves can cover pressure-treated posts and create the clean look many homeowners want. The sleeve doesn’t replace the structural post inside it. It only finishes the appearance, so the wood post still needs to be sound and properly secured.
Measure the Existing Layout Carefully
Accurate measurements keep a railing project from turning into a pile of short sections and wasted parts. Measure the distance between posts at the top and bottom because old decks aren’t always perfectly square. Small differences can affect how rail brackets sit against the posts.
Take separate measurements for each rail run rather than assuming the matching sides are identical. Decks shift over time, and previous repairs can change spacing in small ways. Those small changes become obvious once you start cutting rail sections.
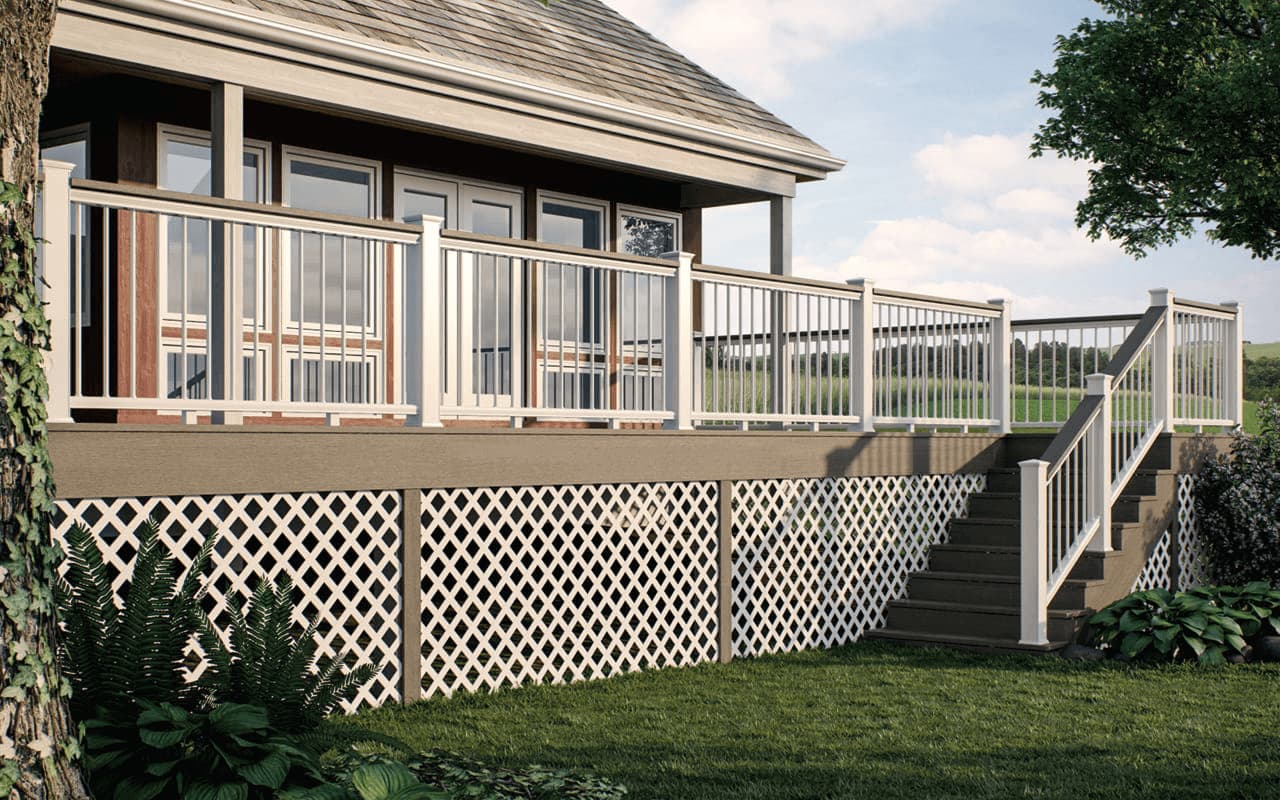
Stair rails will need extra attention. The angle and post height both affect the parts you’ll need. A straight-level rail kit usually won’t work on stairs unless the manufacturer offers a matching stair version.
Choose Rail Kits That Fit the Existing Deck
Vinyl railing systems come in different lengths and styles, so the right choice depends on the layout you already have. A simple rectangular deck may work well with standard sections, while a deck with angled corners or several stair runs may need more planning before you order.
Look at the way the railing will meet the house and steps. These transitions can make or break the finished look. When the kit offers matching brackets or post sleeves, use them so the project doesn’t feel patched together.
Remove Old Railings Without Damaging the Deck
A crucial step in installing a vinyl railing on an existing deck is taking down the old one. This may sound easy until stripped screws and hidden fasteners show up. A good tip for this is to work in sections so the deck stays manageable while you remove parts. Cutting everything loose too quickly can make heavy rail pieces harder to control.
Be sure to protect the deck boards during this removal process. Pry bars can dent older boards, and saw cuts can scar areas that will remain visible. If you plan to reuse posts, take even more care around the trim that sits near the base.
Install Posts and Rail Sections With Patience
The post setup shapes the rest of the project. If new structural posts are needed, they should attach to the framing in accordance with the rail manufacturer’s requirements and local code. Deck boards alone don’t provide enough support for a typical railing post.
When sleeves go over wood posts, check the fit before fastening rail brackets. A sleeve that sits crooked will make the whole railing run look off. Trim rings can hide small gaps at the deck surface, but they won’t correct a post that’s out of line.
Vinyl rail sections need clean cuts because rough ends can show at the brackets. Measure each opening again before cutting the rails. It’s better to slow down here than to discover one section sits short after the balusters go in.
Fasten Brackets the Right Way
Vinyl railing brackets need a firm hold, but overdriven screws can distort the material. Use steady pressure and stop when the bracket sits snug. Crushing the bracket won’t make the railing stronger.
Be sure to check each section as you go, rather than waiting until the end. A slight lean near one post can carry through the next rail run. Fixing it early keeps the rest of the installation much cleaner.
Finish With Details That Make It Last
After the railing is in place, check every section for excessive movement. A solid installation should feel stable without rattling at the brackets. If something shifts, address it before adding caps or trim.
After installation, clean the vinyl to remove any dust or scuffs left behind. Luckily, most marks come off with mild soap and water, which is one reason homeowners go with vinyl deck railings in the first place. Avoid harsh cleaners unless the manufacturer allows them.